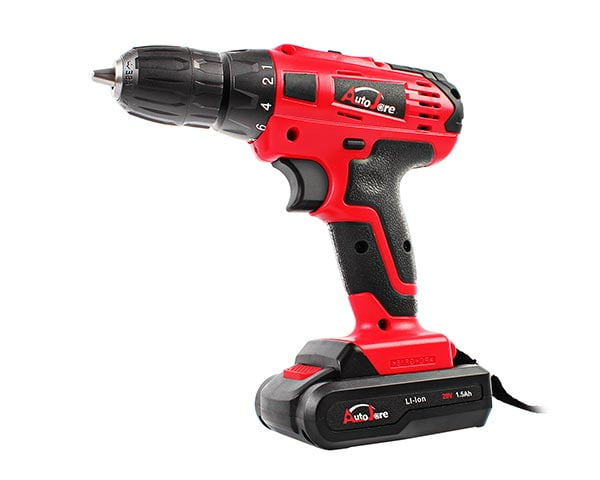
More and more small items are in the house, and the original storage space is not enough. What should I do? To make the most of living space to provide a convenient life for ourselves, we will have the habit of hanging things on the wall.
Inevitably, we must punch holes in the tiles and install various pendants. But drilling holes in tiles is not an easy task. Even if it is a veteran, punching holes in the tiles will inevitably break the tiles. Today, I will introduce how to use an impact lithium drill to punch holes in tiles.
This will ensure that the electric drill does not damage the tiles.
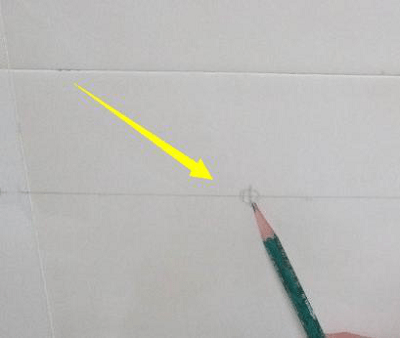
1. Pre-calibrate at the position where punching is required, make a mark to ensure that the punching is on a horizontal line, and pay attention to the corresponding position in the wall without hydro power lines.
- Then, use a glass drill bit to slant a small pit to the marked position. Because the tile surface is smooth, to prevent the brick from shifting when punching, use a tile strip like this so that the drill bit will not slip when drilling.
Or the drill bit should have a 45-degree inclination angle with the tile surface so that the drill bit should first grind a small hole first, then carefully remove the enamel from the position point, and then use the electric drill to punch it vertically.
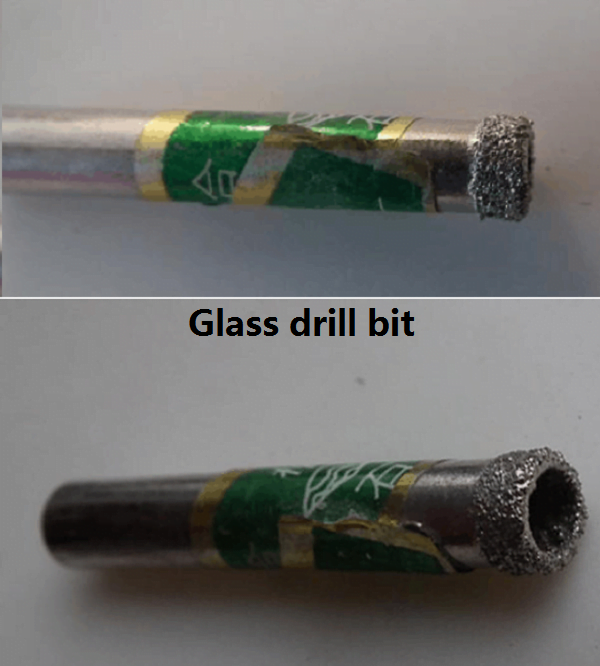
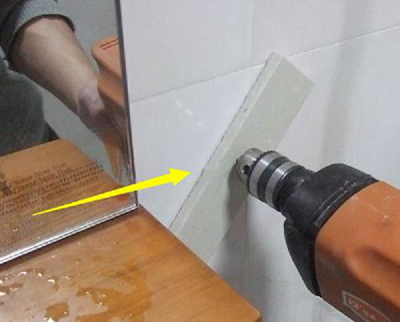
If you use a ceramic drill bit, you can punch holes directly inside.
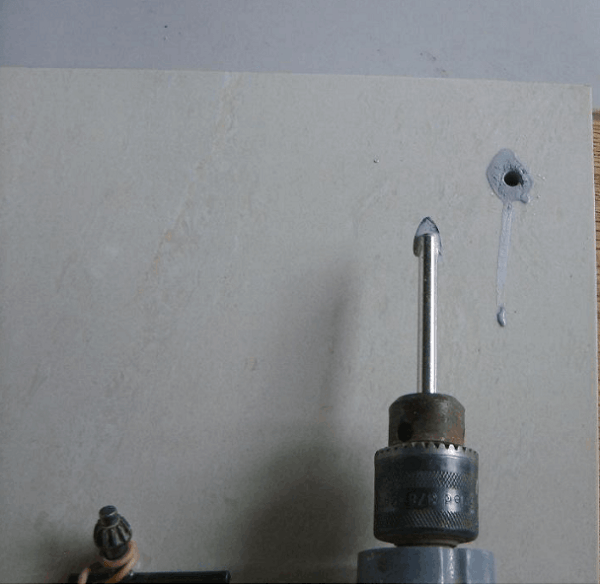
3. Set a shallow hole to remove the positioned orifice plate, then prepare a mineral water bottle, open a hole in the lid, fill the water. In punching, water is sprayed on the punched portion, and the punched portion is cooled. This can reduce the problem of cracking of the tile and cracking due to uneven heating.
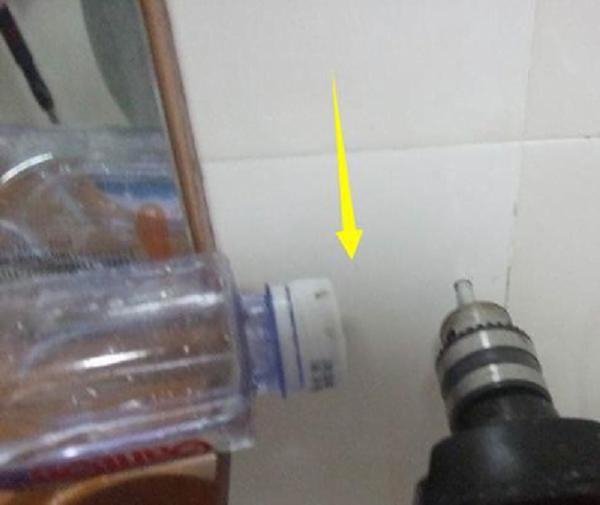
4. After breaking through the tiles, continue to drill the depth of the screws. Make a hole, pull out the drill bit, and unblock the hollow part of the drill bit. Insert the plastic expansion plug into the hole.
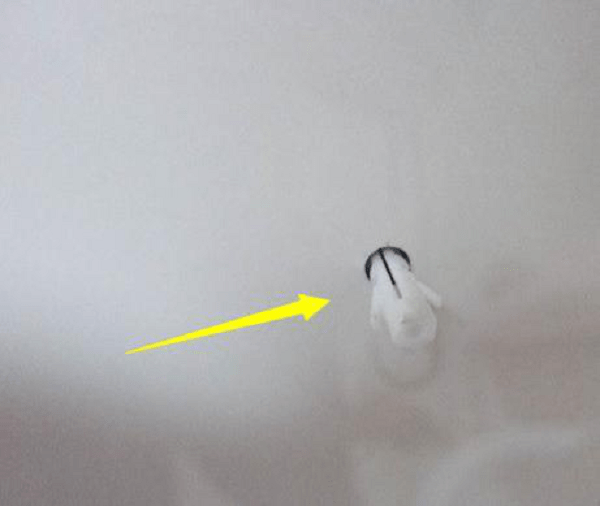
5. Tighten the screws. The pendant is installed.
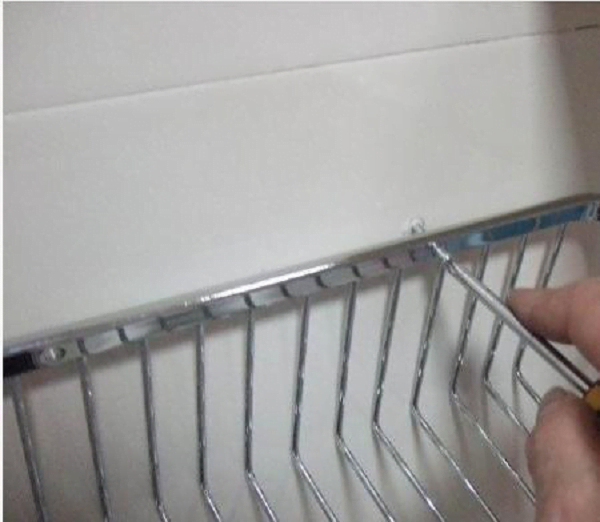
Precautions for electric drill drilling ceramics:
- One point to note is that when using glass and tile drill bits to drill holes in whole tiles, the drill should be slightly shaken up and down, and the water should be cooled.
- When drilling terracotta bricks, use cement nails to make a point on the bricks and then directly drill the eyes with an electric hammer. Start with no force to not make the electric hammer misplaced by the resilience of the electric hammer.2. When drilling the clay bricks, use cement nails to point on the bricks and then drill the holes directly with the impact drill. Do not use force to avoid the resilience of the impact drill to make your electric drill misplaced.
- Do not use oily markers to draw long lines when scribing marble with significant water absorption so that the ink will penetrate the marble. Whether it is clay brick, full ceramic tile or marble, it is best to put a score on the place where you are eye-catching. The colored paper draws lines with pencils.
4, the drilling is steady and meticulous work, but it also has patience and experience. Do not use too much force with the electric drill; borrow the impact of the electric drill to give the appropriate force. Use a slower electric drill, and the drill bit should be perpendicular to the wall so that it won’t break. - Drill the tile with an electric drill. If it is punched, the tile paste hits the empty drum. The ceramic will burst, so it is essential to choose the position. Generally, it is better to choose two seams or four corners. You can also use the knock to see if there is an empty drum before drilling.
It is best not to place the hole in the hole close to the brick. The hole should be more than 2 cm away from the edge of the tile. It is easy to break the ceramic too far from the edge of the ceramic. Try to avoid holes in the sharp corners of the tiles! Regardless of whether the brick is empty or not, try to avoid it.
