Judging from the texts of some friends’ responses, they are ignorant of the types and methods of using electric drills and even have many cognitive misunderstandings. Then let’s talk about this topic. In order to be close to the use of family DIY, the following will focus on the daily practical, professional users can skip.
Fixed items
The most common fixed items in the home environment are the installation of towel racks, hanging paintings, frames and the like. Mainly look at the installed wall to determine the specific operation:
▲ tile wall: bathroom tile wall, it is strongly recommended that ordinary drill + tile drill bit to drill (including impact drill switch to non-impact state, synonymous below). Do not rush to use impact drills, electric hammer construction. The first is that the tile is probably not covered with mortar, and the shell is immediately broken after being hammered. Secondly, as mentioned above, a large number of modern buildings are hollow bricks. It is no problem to use a common electric drill + ceramic tile drill to machine a hole with a diameter of 6-8 mm and a depth of 50 mm. Even for load-bearing walls, you should first drill through the tiles and then use a hammer drill or a hammer to drill holes.
After drilling, tap the plastic expansion tube and screw in the fixed item with a self-tapping screw.
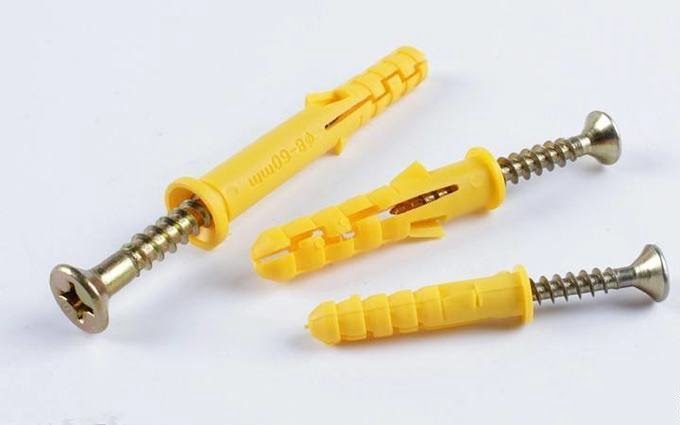
If you need to install a very heavy item, use different fasteners depending on the nature of the wall:
Concrete load-bearing walls or homogeneous brick walls with steel expansion screws.
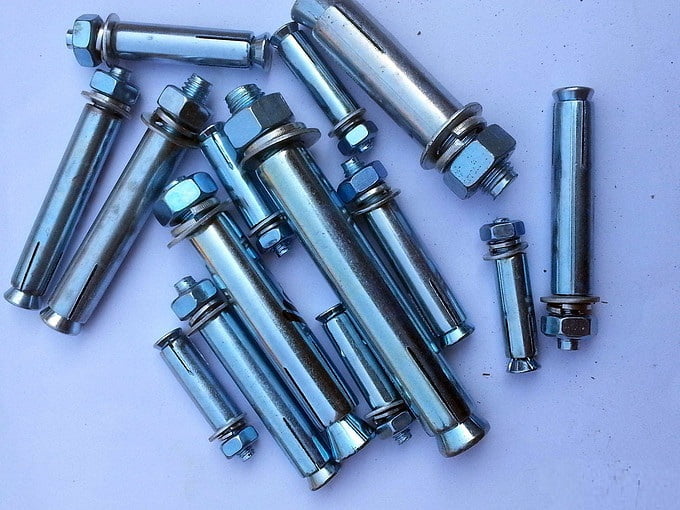
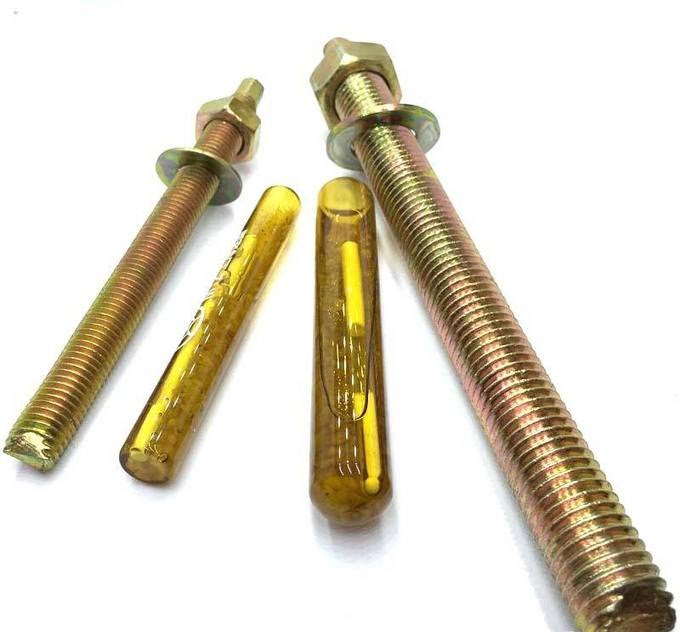
Lightweight aerated bricks. Due to the loose texture, the steel expansion screw may loosen due to the pressing of the hole wall and cannot be effectively tightened. A chemical anchor (chemical screw) can be used, the main principle of which is to fix the bolt in the wall body by a resin binder, and has no pressing effect on the hole wall. For specific usage, please consult the merchant.
Hollow brick. Because the inside is a cavity, the above expansion screws cannot be effectively fixed, but are anchored with iron airplane screws. See the afternoon for specific pictures.
▲ Aluminum-plastic panel wall surface: This wall surface has basically no family environment. It mainly appears in some commercial spaces. The strength of aluminum-plastic panel is high. If the installed items do not carry too much weight, they can be fixed directly with self-tapping screws. If the load is heavy, refer to the gypsum board and the part of the cement slab wall below.
▲Gypsum board, cement board wall surface: These walls are relatively brittle, and loose, as the saying goes, do not grab nails. Direct use of self-tapping screws will quickly fall off. So use some special screws:
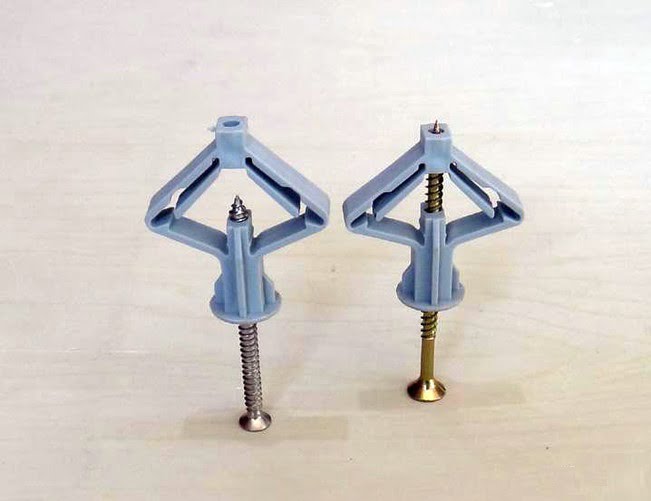
1 Plastic/iron aircraft expansion pipe: This kind of screw needs to drill a hole with a diameter of about 10mm on the wall surface, and insert the rear end into the wall. By turning the screw, the plastic expansion pipe is contracted while being extended outward until the wall is clamped. The bearing capacity is relatively large. The disadvantage is that the opening is large, and if the item is small, the expansion cap may not be blocked. Such an expansion tube can also be used for hollow bricks. The iron expansion tube has a spring-retractable/bounced component that can be anchored by inserting it into the pre-drilled hole. It is easy to use and relatively expensive compared to plastic. (There are various shapes, the following are only common legends, and the design principles are similar.)
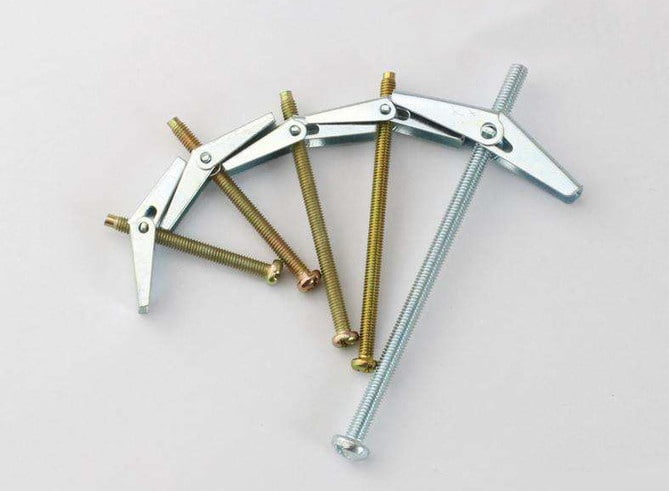
2Driving aircraft expansion screw: It is easy to use. Just tap the part of the spring steel piece into the plate. After screwing in the screw, the rear part will be opened and anchored. This type of screw can also be used to install heavier items on the aluminum composite panel, which is more reliable

