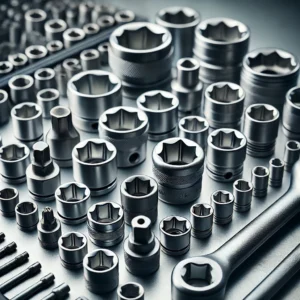
The novice has just purchased an electric wrench, and he must be baffled about his use.
Understand how to use the multi-function electric wrench.
First, the power supply connection First, put the host’s three-pin plug into the corresponding socket of the controller, and then connect the power cord on the controller to the grid. The green/yellow color core wire is the ground wire. After the work is finished, disassemble in the opposite direction.

The second, the tightening operation of the bolt.
- Install the reaction force bracket and tighten the screws. Start the main machine so that the square pinhole corresponds to the reaction force bracket hole, then insert the wrench sleeve, insert the pin, and fix it with a rubber ring.
- Set the torque knob of the controller to the required torque value, turn the main switch to the favorable position and place the ‘Autojare’ electric spanner socket on the hexagonal part of the threaded connection.

- Press the power switch, and the spanner is activated. When the reaction arm is pressed against the pivot point (the pivot point can be a nearby bolt or another location that can be used as a pivot point), the bolt starts to tighten.
When the bolt torque reaches the predetermined torque, the spanner automatically stops, and tightening is complete; release the power switch and proceed to the next bolt tightening job. - After the wrench is automatically stopped, rely on the elastic deformation force of the reaction force bracket to make the bracket arm automatically disengage from the fulcrum and remove the wrench. If the arm cannot be disengaged from the fulcrum, you can toggle the forward and reverse switch, jog the power switch, and remove the wrench.

Third, the bolt removal operation When the wrench is removed (reverse), the operation method is the same as the tightening operation. Just turn the forward and reverse switch to the reverse position, and the bolt is unloaded to prevent the power switch from opening. Fourth, the choice and adjustment of torque 1, the user can choose the appropriate size of the multi-purpose electric wrench in the range of 100—3500Nm.
- The controller panel has a “Torque Adjustment” knob with an engraved scale from 0-100 to adjust the torque.

- Adjustment method: The product is shipped with a torque test data card for the user to reference. The user can select a specific scale value according to the required torque and tighten the bolts according to the tightening operation.
Use a force wrench or other force measuring instrument to measure the actual torque value of the bolt.If the torque value is too high, adjust the torque to the low scale. If the torque value is low, adjust to the high scale value. The exact torque value required.


